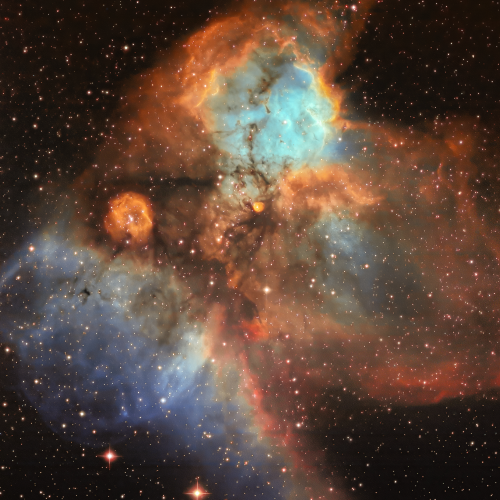
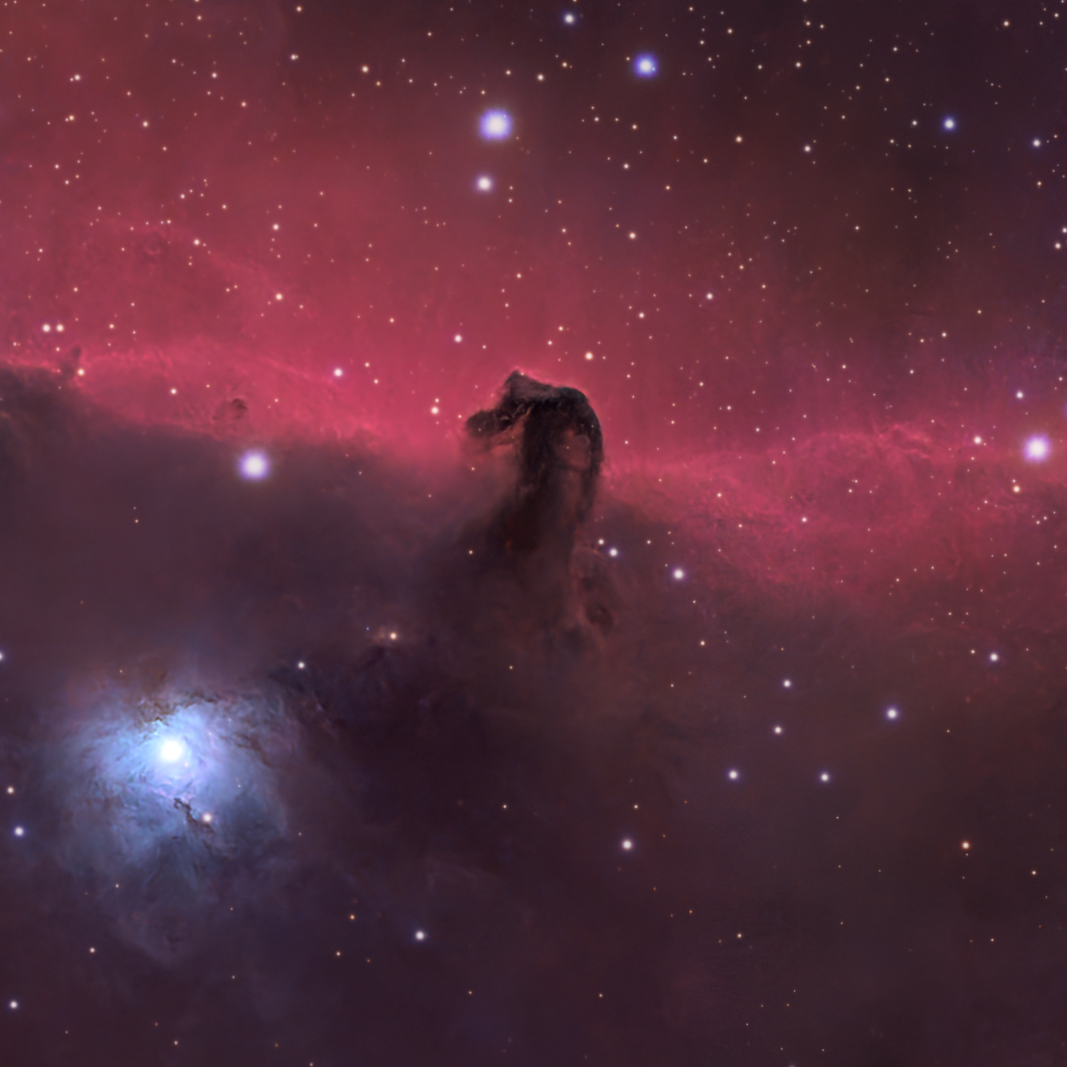
After several attempts we (ie. me & Chat 🤣) arrived to quite useful command template. Here it is:
Create a wall-eye stereogram from the attached astronomical image.
Preserve exactly:
* original brightness,
* contrast,
* colors,
* natural noise,
* star halos,
* object scale,
* image proportions.
Do not perform:
* sharpening,
* noise reduction,
* HDR processing,
* Local Contrast Enhancement,
* saturation changes,
* generation of new structures.
Before generating the stereogram, remove 50–70% of the faintest background stars (the smallest stellar profiles), while preserving all stars that are important to the structure of the main object.
Star depth:
* apply GAIA Natural Depth,
* nearest stars receive the largest parallax,
* more distant stars receive proportionally smaller parallax,
* maintain a continuous depth gradient,
* avoid grouping stars into flat depth layers,
* preserve the intrinsic spatial structure of open clusters.
Nebula depth:
* treat nebulae as volumetric objects,
* bright Hα regions slightly projected forward,
* dark dust lanes slightly recessed,
* gas filaments distributed across multiple depth layers,
* preserve all faint structures and dust features,
* avoid the “cut-out sticker” appearance.
Stereogram composition:
* place the main object exactly at the center,
* no vertical displacement between left and right images,
* identical photometry in both panels,
* side-by-side stereo pair,
* optimized for parallel viewing (wall-eye).
Parameters:
* type: GAIA Natural Depth,
* strength: 140% of natural parallax,
* stellar depth: high,
* nebula depth: medium,
* depth-gradient smoothness: maximum,
* viewing comfort: high.
Priority:
Astronomical realism > 3D effect strength.
If there is a conflict between stereoscopic impact and realism, choose realism.
Avoid CGI appearance, artificial 3D modeling, and flat 2D layers.
The final result should resemble a realistic three-dimensional observation of the night sky while preserving full photometric fidelity to the original image.