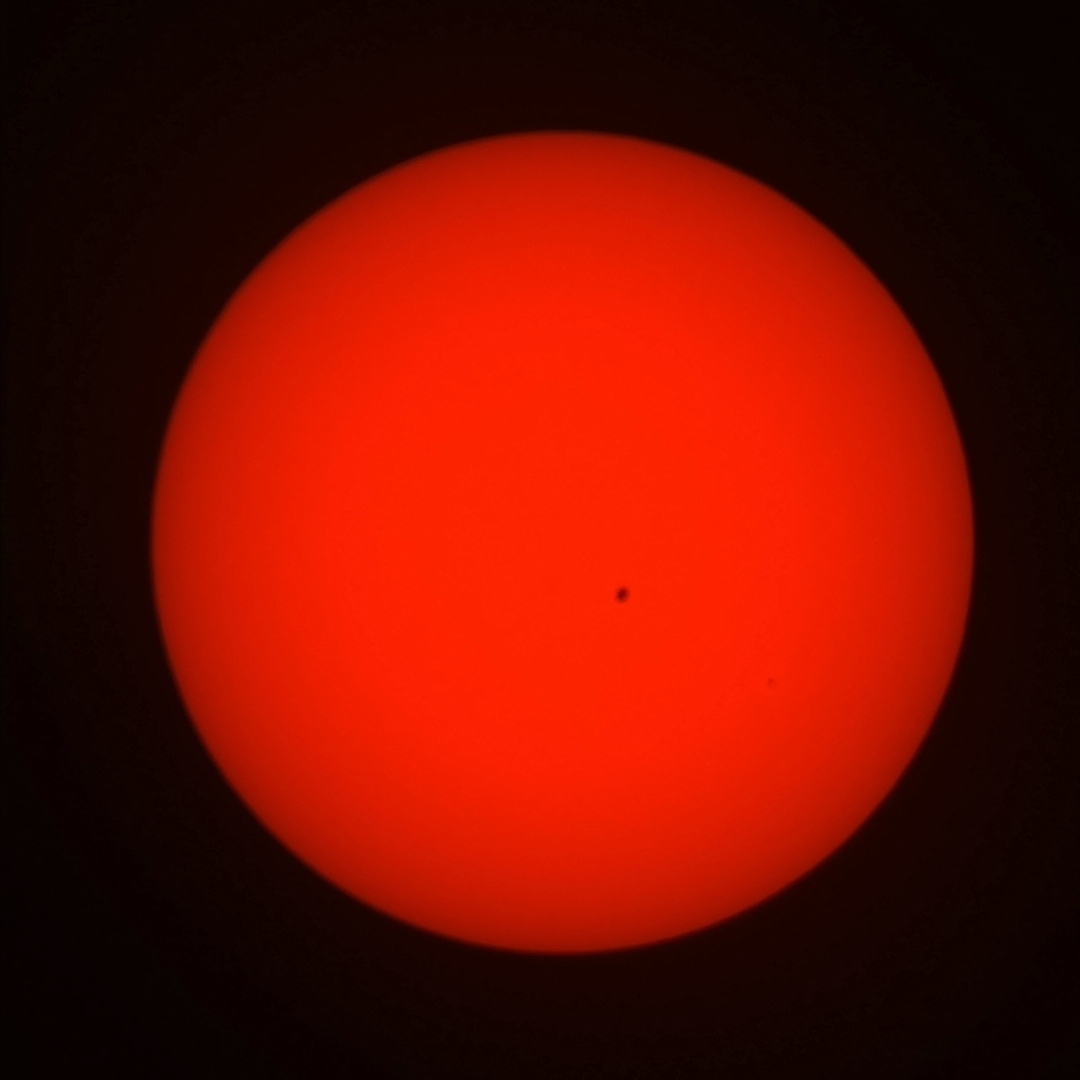
Nice images of Jupiter with S50
My two cents on how to get nice images of Jupiter with Seestar S50: 1) select Solar System and GoTo Jupiter; 2) select Time Lapse mode, 1 second image delay and 4x zoom; 3) activate Raw Image and autofocus on Jupiter; 4) go to image settings Regulation button and select Manual configuration; 5) lower the Luminosity and Contrast settings to a minimum where you barely see the live image, without seeing details of Jupiter. Now start collecting at least 200 images (3-4 minutes). Stop the timelapse and go to My Images 》My Seestar. Search for planetary video folder, find the timelapse, and Stack it. It coukd take 4-5 minutes... but when it is 100% complete look at the result. Tadaaaaa.
If the image is still overexposed repeat by reducing luminosity and contrast. It is hard to get the Galileian moons with this approach, but the main bands and red spot of Jupiter will be possibly visible. Not easy for an S50, but we do not like easy results, right? All the best luck and dark skies to everyone. Post your results and opinions or different approaches you followed. A couple of my jupiter images can be found in my collection: AlienX.